
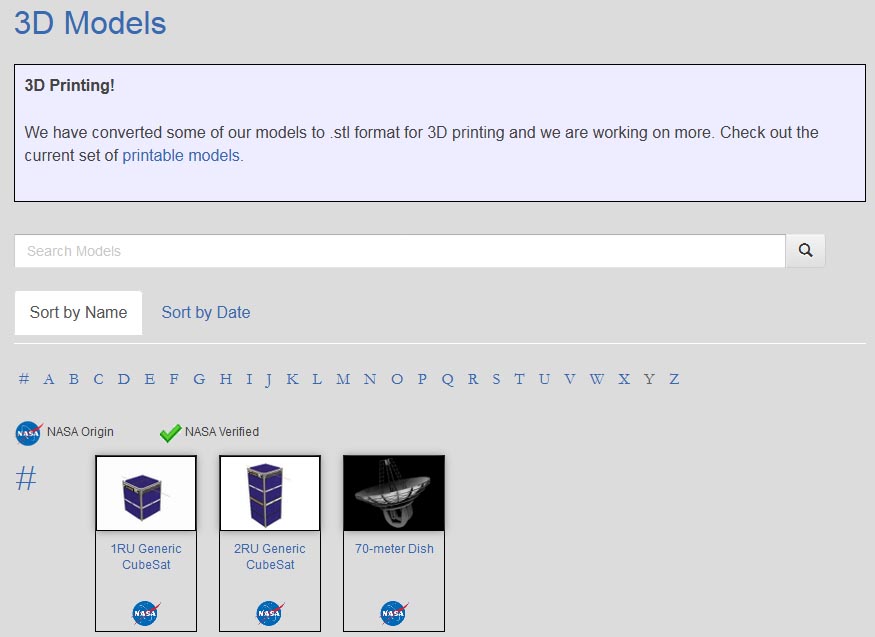
One of the frustrations of working with CGI is that you sometimes find a brilliant free model, but it’s not for your software. And a specific example that has frustrated me is that there are some great models available in Blender format on the NASA 3d object library site:
Now, whilst I have heard of Blender, I’ve never tried to use it, and 3d packages can be very difficult to learn. But I decided to give it a go. Maybe I’d be lucky!
Blender is open source, free, and available for Mac, Linux and Windows. You can download it here:
 Installation should be painless, though it can use quite a bit of disk space.
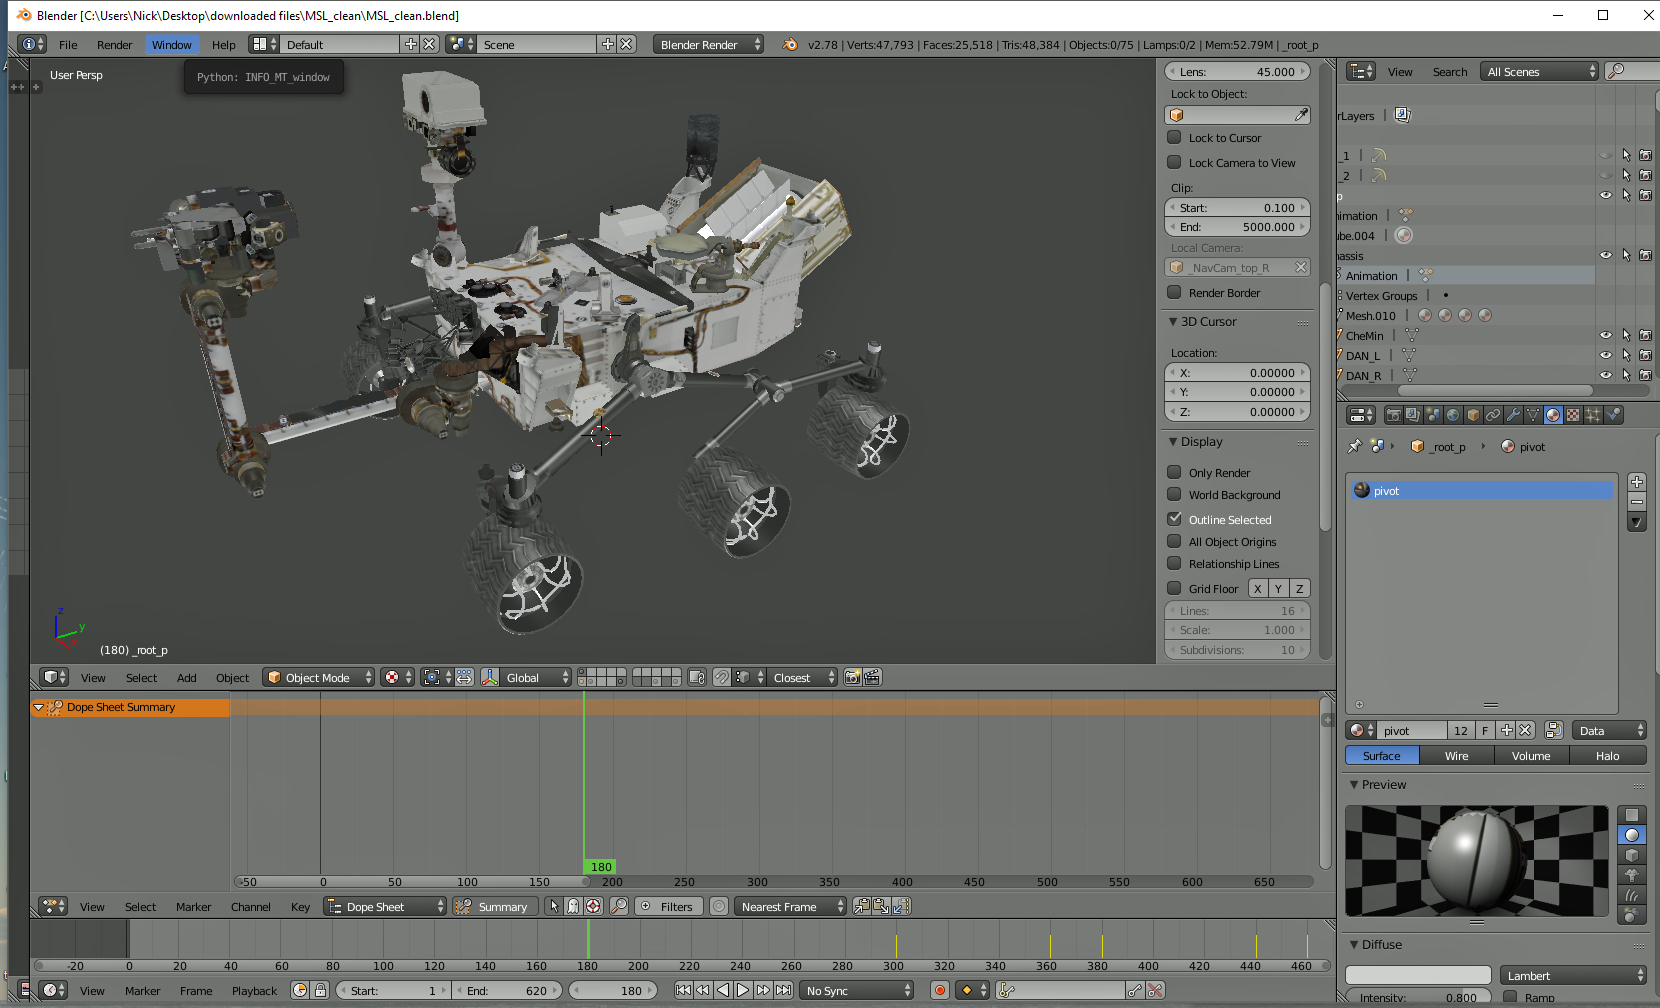
Files for Blender have a filetype of .blend, and once it is installed, you should be able to double click the object to load it in. Like this:
Getting it exported is no more difficult! You simply go to the file menu, select export, and choose your format, like this:
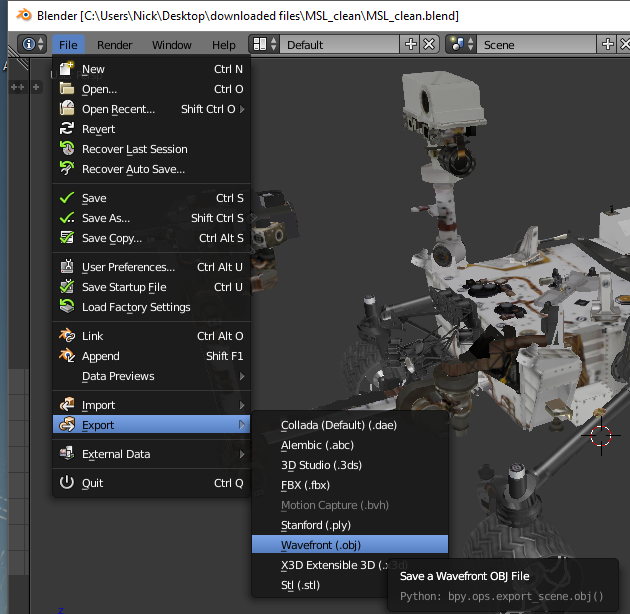
In this case I have used OBJ, in my experience it generally works well, as it is simple. If your destination package supports other formats though, by all means try them. You may get better results.
The final step is to confirm your choice. WIth my install the file save dialogue took over the whole screen for some reason, but that’s not important. Choose the destination file, folder, and confirm.
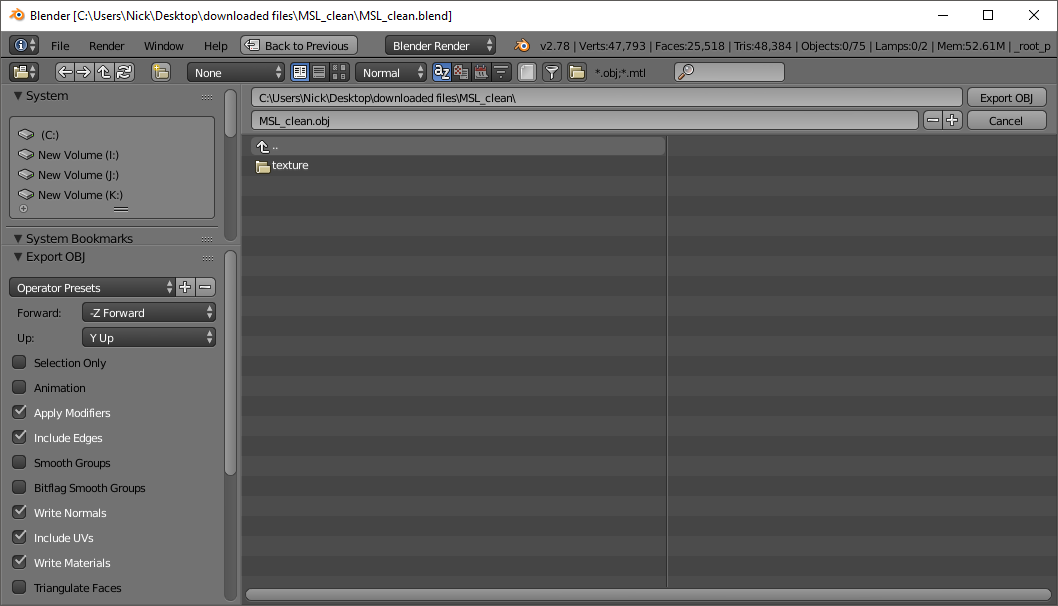
If you pick the same folder, it will be easier to locate the textures.
Let’s check the results. In my case I am using the Lightwave 3d modeller to examine the output OBJ file.

Looks good apart from those pink boxes, what is going on there?
It turns out that Blender uses dummy polygons to store pivots. These have been preserved in the exported model, but you don’t want to see them. There are two obvious ways to do this.
- Select the polygons and delete them, (if using a modeller). The surface is called “pivot”, which helps identify them.
- Select the surface, and set it to 100% transparent, zero specular / shininess, if using a package with no modeller, such as Vue. This will make it invisible.
That’s it! Easy, wasn’t it!
Now you will probably want to fine tune surfaces, to make the object look it’s best in the software of your choice. But it’s a great starting point, and you may be lucky enough for this to be unnessesary.
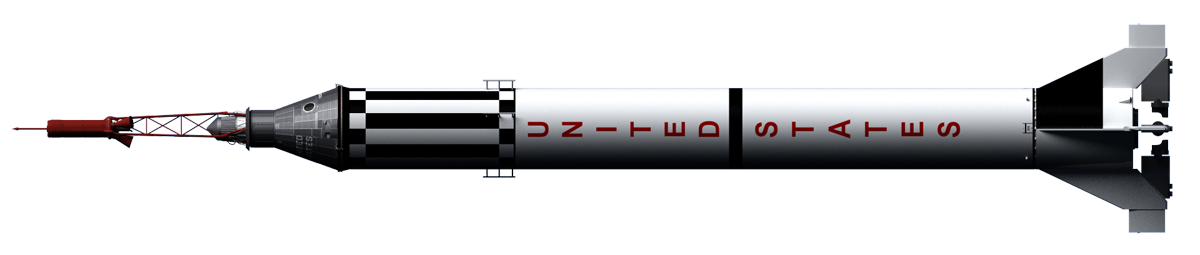
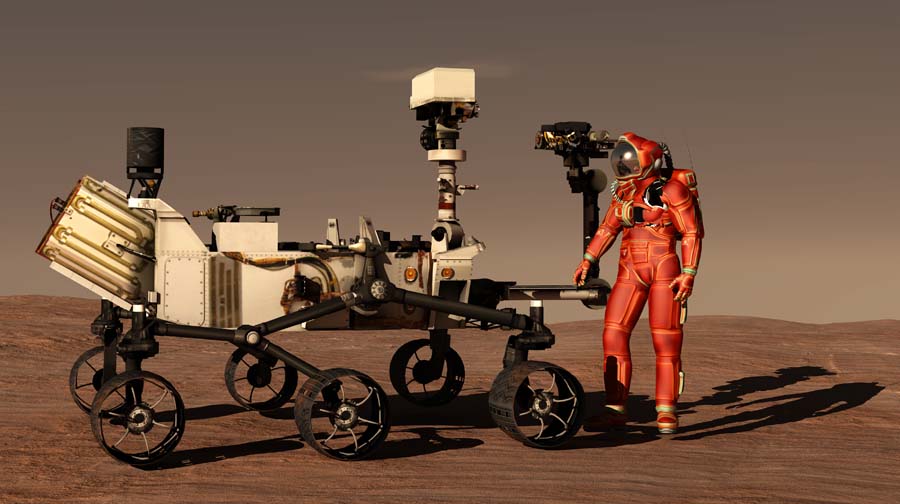
To wrap up, here’s a render I made of the exported Curiosity Rover in Vue:
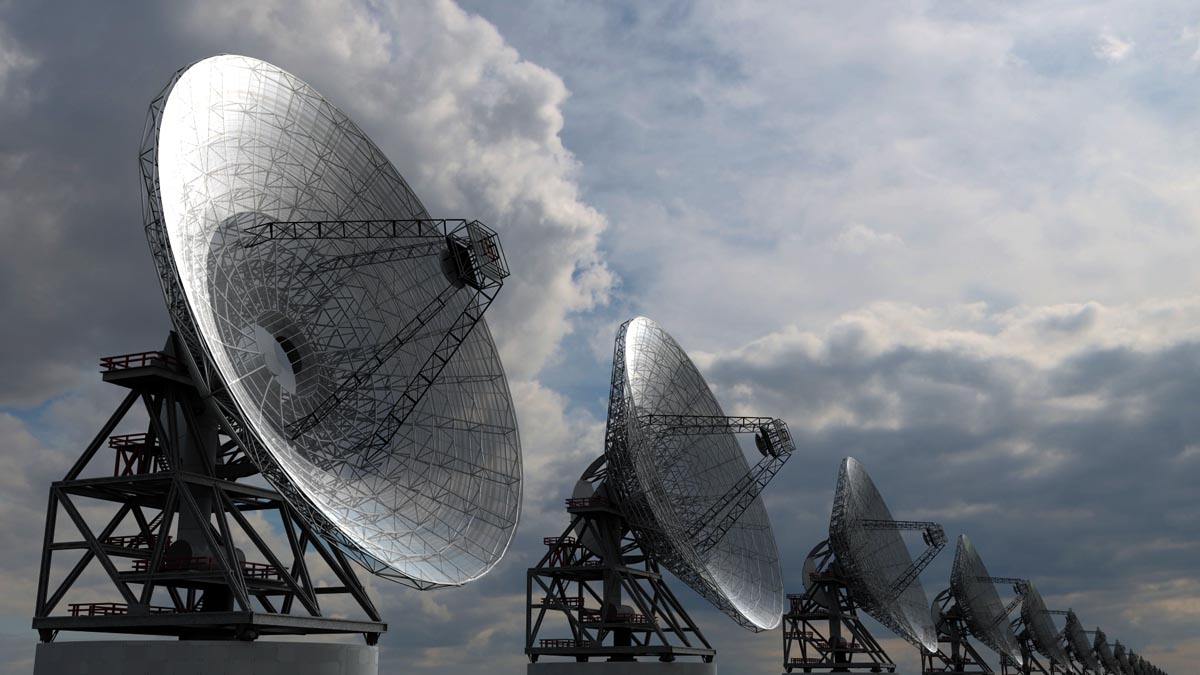
And here’s a Lightwave 3d render of the NASA Deep Space Network dish, from the same NASA 3d object library page.
If you find any high quality space downloadable Blender objects, please let me know in the comments!
Nick
Very nice tutorial Nick on how to go from blender to Lightwave obj format. I liked the pointers you gave as well. Thanks for those.
Randy Columbia, Maryland
When I export to obj or fbx, the texture files are missing. How do I get them? Thanks…..
When you load the exported model you will need to point the software at where the original files were located. At one point in th tutorial I recommend saving the object to the same place as the textures to make life easy…