I wanted to make a dwarf planet, using elevation maps from the Moon, (and maybe Mars?) for realistic craters. I thought it may be helpful to save out the steps, so that others can follow along. Tutorial time!
You will need:
- The 3D program of your choice, it should support displacement maps.
- A high res source elevation map, these are available online.
- An image editor that can edit 16 bit grey scale images.
Getting started
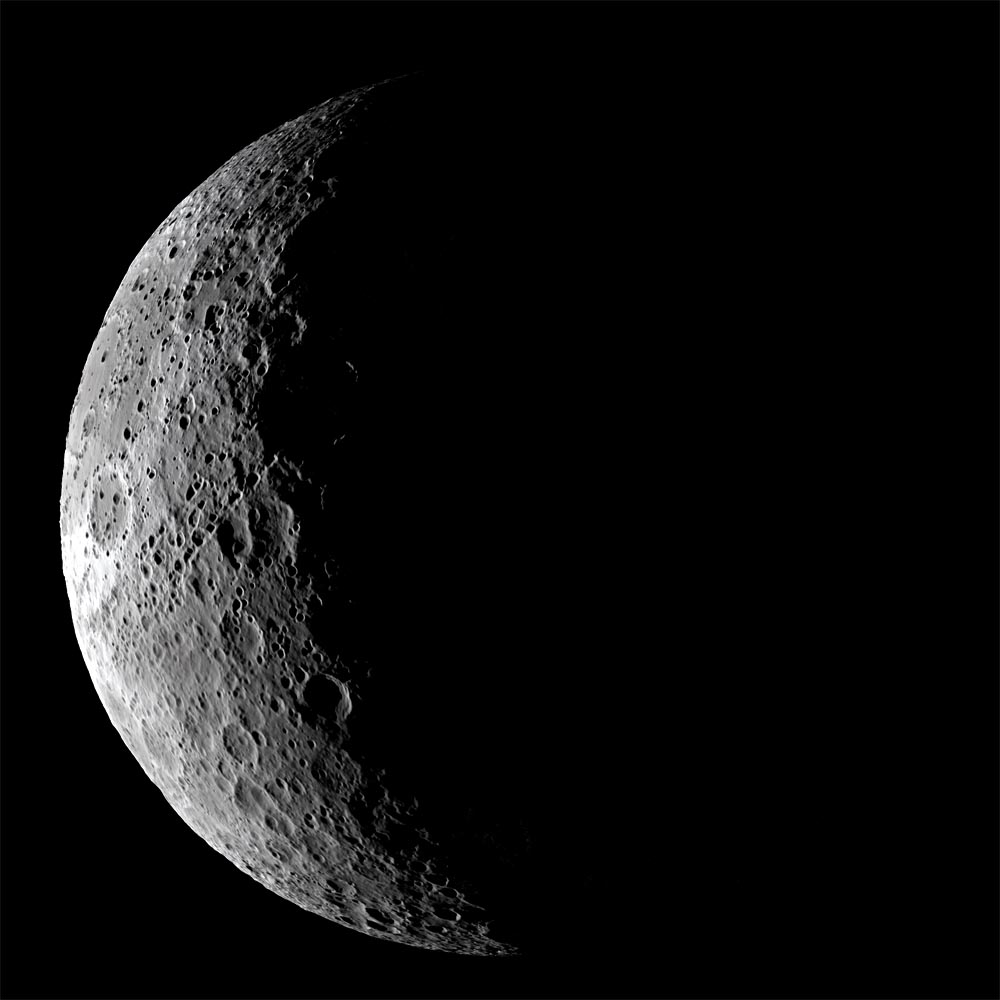
I started with a slice of elevation map from the rear of the moon, (less recognisable), in the proportions of 2:1
 This will have seams at the left and right edges. To fix this we need to first use an offset filter, with wrap, to move the whole thing 50% to the right.
Most halfway descent image editors can do this, try searching for ‘seamless texture’ if you get stuck.
 Note the join, just to the right of the red bar,
Next stage is to use a soft edge clone brush, or maybe a heal brush, to get rid of that seam.
 Good enough, though we may want to avoid getting too close to that part.
A note on image formats:
You really need to work in 16 bits per channel to get good results here, and that’s not widely supported in the cheaper software, such as Photoshop Elements. I used Affinity Photo and EXR format images. You may also find 16 bit greyscale PNG works well, if your software can handle it.
Back to the work…
Let’s try wrapping that around a sphere. As you might expect, if you have tried this yourself, the equatorial areas look good, but the polar areas are pinched, and look very wrong.
This needs fixing, but it’s tricky – why?
The main challenge is that if you use a simple displacement map, you will find pinching at the poles, where the pixels are pushed together.
 Editing these areas when spread out is very tricky. So here’s a trick.
Lightwave 3d alows you to bake surfaces into a map, using a special camera. The map I made is on the Y axis, the vertical axis. But if I bake into a map based on the X axis, the problem areas will not be at the edges, and we can fix them using a simple clone brush.
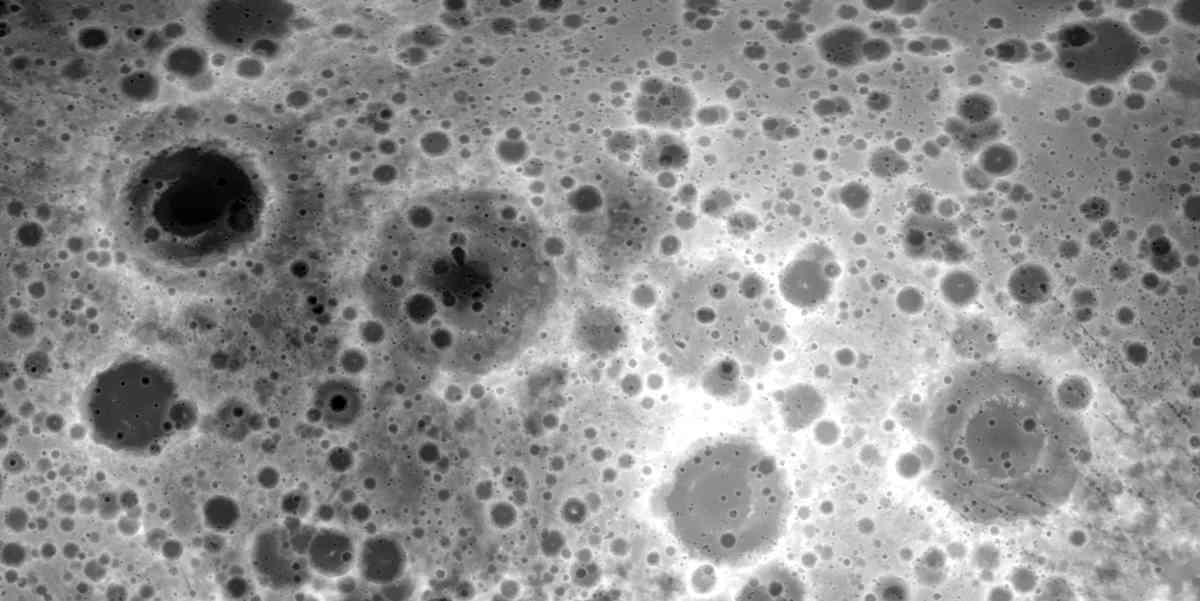
Here’s the result of baking:
 Note the pinch points, left and right of centre. Now it’s straightforward to patch them.
 OK, now the map is ready!
So, apply the patched map to the sphere in the diffuse channel. (Not strictly nessesary if you only want the geometry, but I’m using it as a diffuse map too). And apply it as a displacement map – in Lightwave 3d, this is under object properties / deform.
Adjust the strength of the deformation, my ‘planet’ was about 2m diameter, so I only needed a very small displacement of about 0.04m to provide very visible crater rims with proper geometry.
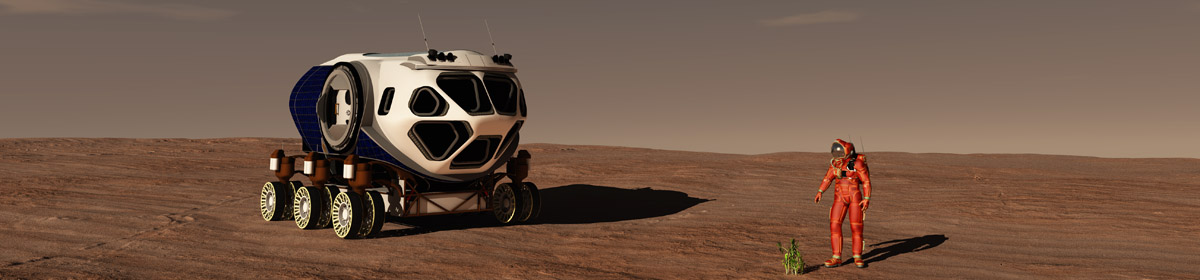
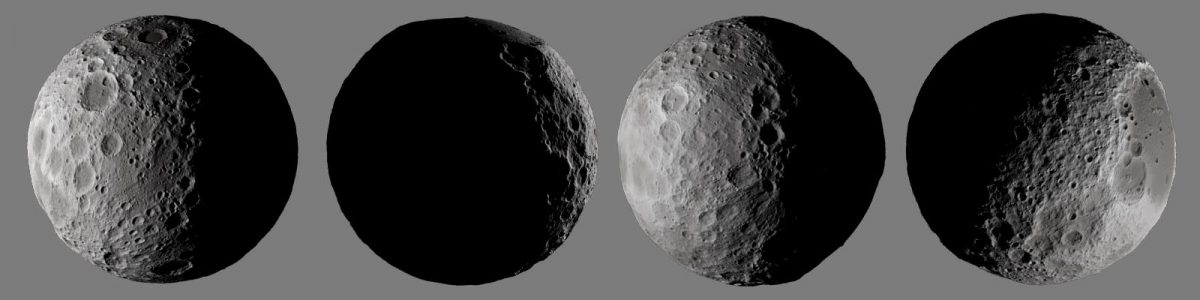
Final renders
Here are some final renders, with a light touch of “dented” in the bump channel, and a lttle specularity.