A quick guide to getting good colour from old Earth photos

I notice that people often post old Apollo era shots of Earth, unprocessed, in some cases reproduced from faded prints.

Well, haze in the atmosphere dulls down all shots from space, but it’s REALLY easy to fix. I’ll be using Photoshop elements, but you can do the same with pretty much any image editor, including the free open source GIMP. Similar options are available on tablets and phones.

The same techniques are a good start in restoring scans of old family photos.

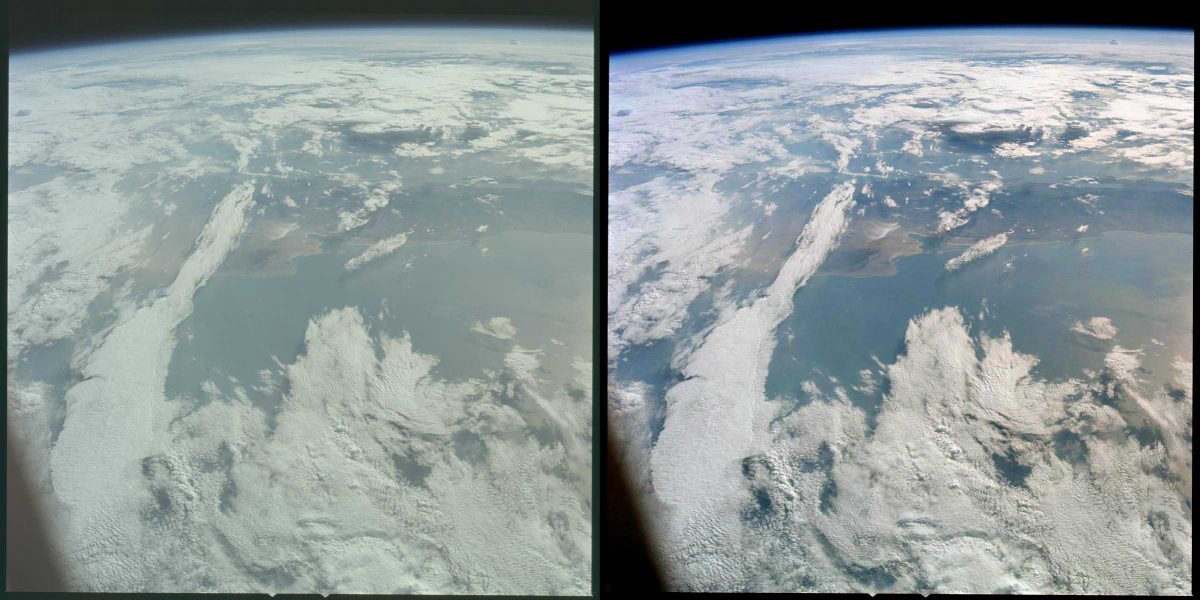
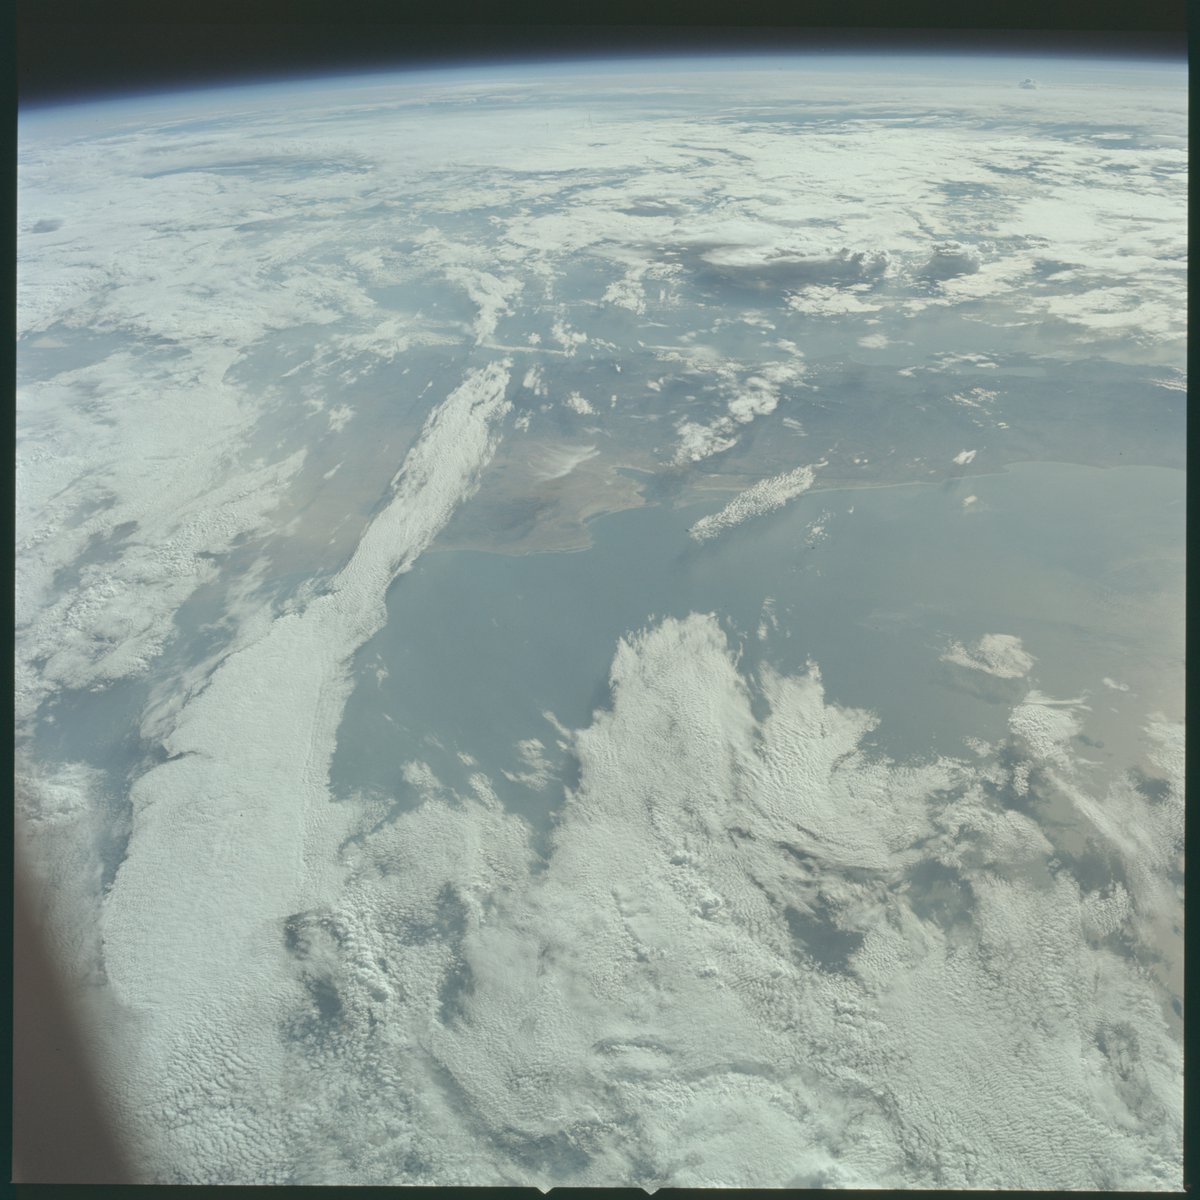
 Here’s the original image.

An unprocessed Apollo photo of Earth. Note how faded the colours look.

Continue reading “A quick guide to getting good colour from old Earth photos”

A guide to modelling CGI rockets, part 1, references.

Some of the most popular items I model are rockets, and to be honest – they are not that difficult. The basic shape is normally a series of cylinders and tapers, topped with a cone!

So I thought it might be a good idea to write a general guide on how I go about it. I’ve done it as one long article, so it’s easy to print if you wish. Continue reading “A guide to modelling CGI rockets, part 1, references.”

How to do edge renders in Lightwave 3d, a brief tutorial

This is a short blog post, which will describe how I go about edge renders in Lightwave 3d. It’s really easy and I find it a great technique for renders that are not photorealistic.

I am using Lightwave version 11.6, I’m not sure how this works in other versions. But it’s probably almost identical.

What do I mean by edge renders?

This is an effect that runs a line along various edges and boundaries. It can be used to emphasise fine detail, or to give a diagram effect. It works with transparency, and animates nicely.

Here’s an example.

Hale Telescope Edge Render

Note how features of the telescope are highlighted with fine white lines.

Ready to start? Continue reading “How to do edge renders in Lightwave 3d, a brief tutorial”

Making a dwarf planet – Tutorial

I wanted to make a dwarf planet, using elevation maps from the Moon, (and maybe Mars?) for realistic craters. I thought it may be helpful to save out the steps, so that others can follow along. Tutorial time!

You will need:

  • The 3D program of your choice, it should support displacement maps.
  • A high res source elevation map, these are available online.
  • An image editor that can edit 16 bit grey scale images.

Getting started

I started with a slice of elevation map from the rear of the moon, (less recognisable), in the proportions of 2:1

This will have seams at the left and right edges. To fix this we need to first use an offset filter, with wrap, to move the whole thing 50% to the right. Continue reading “Making a dwarf planet – Tutorial”