A quick guide to getting good colour from old Earth photos

I notice that people often post old Apollo era shots of Earth, unprocessed, in some cases reproduced from faded prints.

Well, haze in the atmosphere dulls down all shots from space, but it’s REALLY easy to fix. I’ll be using Photoshop elements, but you can do the same with pretty much any image editor, including the free open source GIMP. Similar options are available on tablets and phones.

The same techniques are a good start in restoring scans of old family photos.

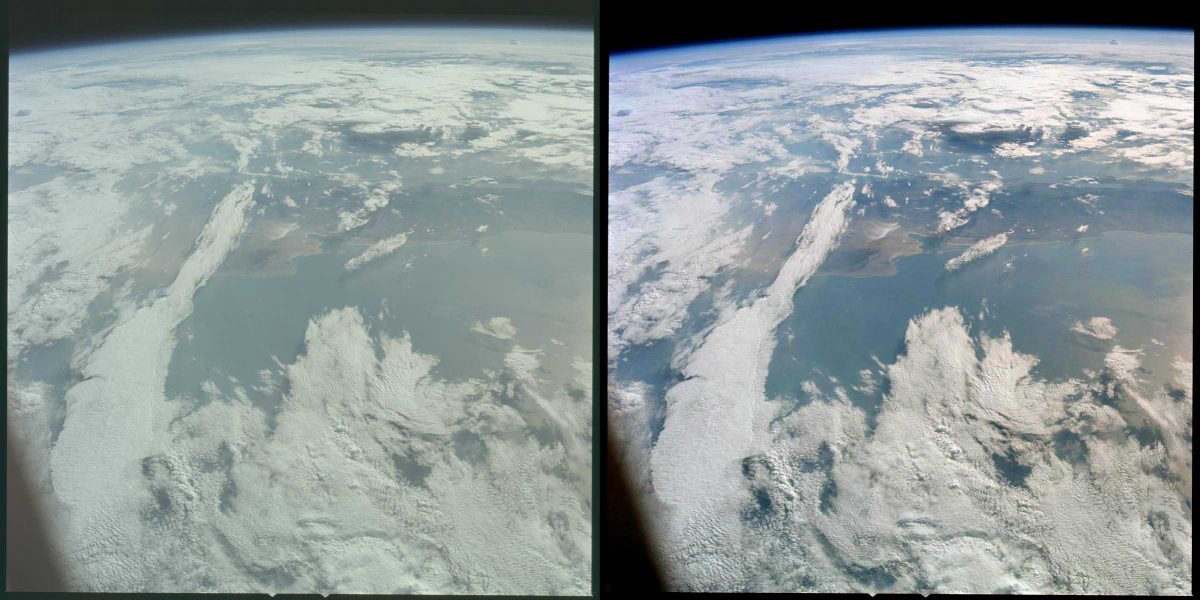
 Here’s the original image.
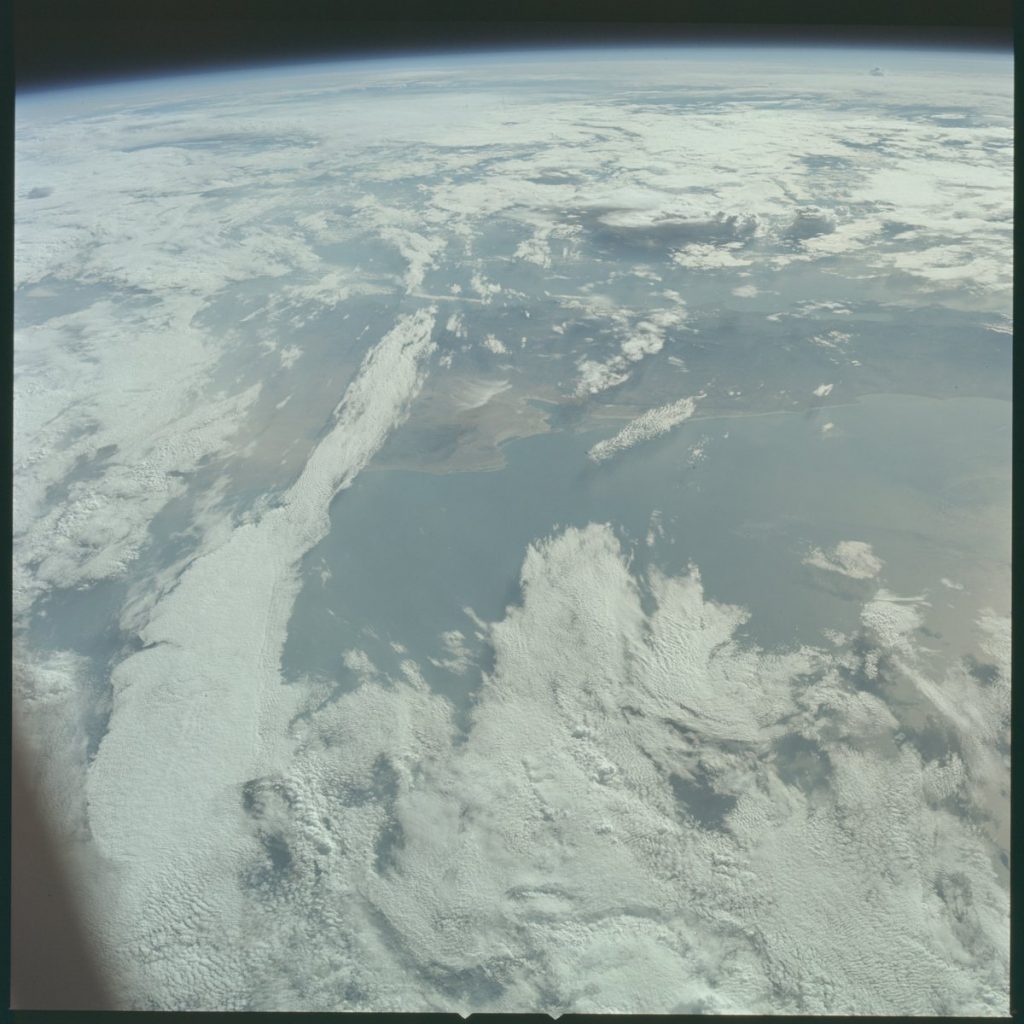
An unprocessed Apollo photo of Earth. Note how faded the colours look.

Continue reading “A quick guide to getting good colour from old Earth photos”

Modelling CGI rockets, part 2, worked example

So, in part 1 I showed you how to locate and work with references.

Here in part 2, I’m going to work an example, the Mercury Atlas. I’ve done it in one long part again so it’s easy to print. (Handy hint! You may be able to print to PDF to get a portable version…)

I’m not going to give blow by blow instructions to build the model yourself, but you should see enough examples of techniques used to address common elements in modelling rockets.

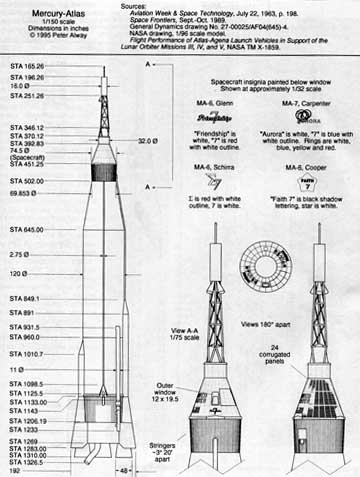
Now I have Rockets of the World, so I can use the dimensioned plans from that – small version follows, (deliberately too small to use, as its copyrighted).

Mercury Atlas
Mercury Atlas

But you can do a good job without. Using methods described in part 1, I was able to locate some perspective free views, at good resolution. Click for a larger image: Continue reading “Modelling CGI rockets, part 2, worked example”

A guide to modelling CGI rockets, part 1, references.

Some of the most popular items I model are rockets, and to be honest – they are not that difficult. The basic shape is normally a series of cylinders and tapers, topped with a cone!

So I thought it might be a good idea to write a general guide on how I go about it. I’ve done it as one long article, so it’s easy to print if you wish. Continue reading “A guide to modelling CGI rockets, part 1, references.”

Tutorial – Making a CGI Ringed Planet

Level – Intermediate:

Introduction:

This is a fairly old tutorial, as you may notice by the version of Lightwave used! However, the principles are exactly the same in newer versions, and indeed you should be able to apply the ideas presented with pretty much any CGI software.

Original introduction

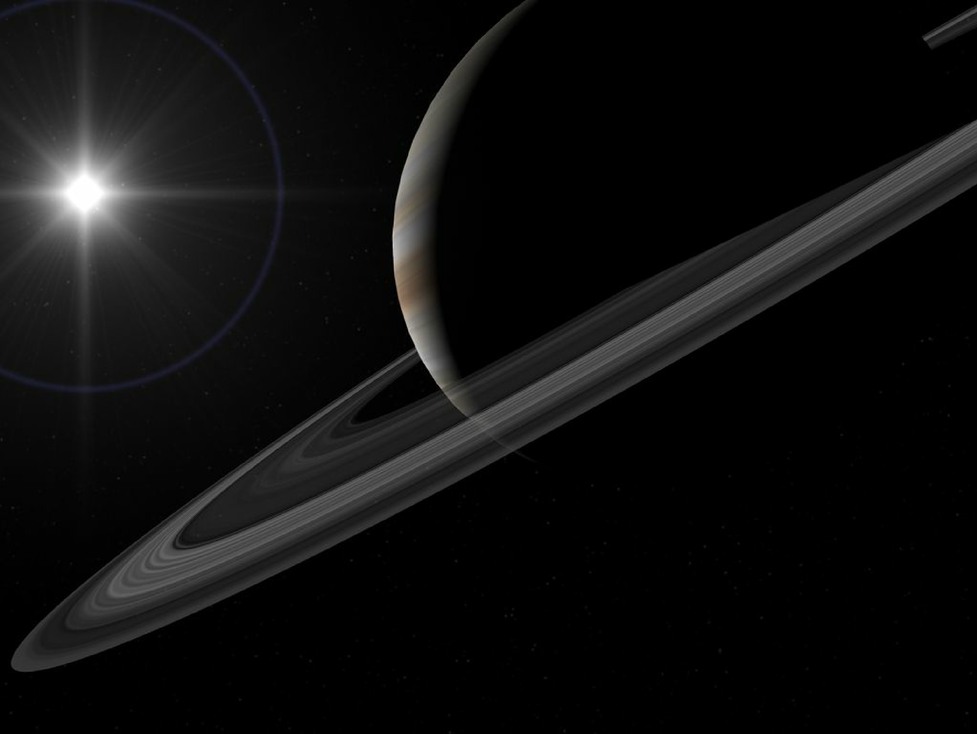
I have seen many rather poor attempts to make convincing ringed planets, and thought it might be a good idea to tell you how I do it. I rate it as intermediate in level, as I am not going to explain mouse click and numeric values. You should be familiar with making spheres and disks, and applying image based texture maps. I have done this tutorial as one long page, so it is easier for you to print. It should work with any version of Lightwave from 5.6 onward, and the ideas should also be easy to adapt to any other modern 3D graphics package.

The planet has 2 main components, the globe of the planet itself, and the ring system. Continue reading “Tutorial – Making a CGI Ringed Planet”

Cheap and free ways to get started in CGI Astronomical Art

There’s no doubt that it is possible to spend vast amounts on graphics software – many of the industry standard packages run to thousands of pounds, and even image editors like the full Photoshop are very expensive, (and come with monthly fees too).

But provided you already have a computer, it is possible to get going for little or even nothing. This blog post will explore some of your options.

Be aware though, that this stuff is NOT easy, and whatever package you go for, it will take considerable time and effort to master.

Blender 3d.

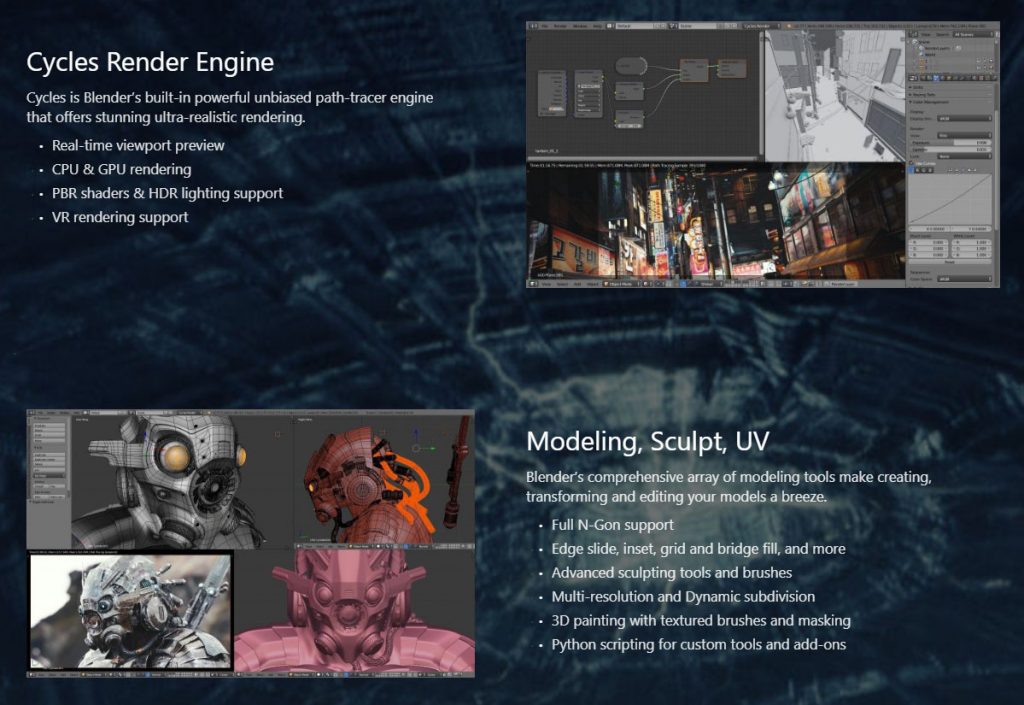
Blender Website Screenshot

This is a seriously powerful 3d package, with some highly advanced features such as fluid simulation, and hair systems. It is completely free, and open source.

You can find out more, and download it here:

BLENDER

Continue reading “Cheap and free ways to get started in CGI Astronomical Art”

How to do edge renders in Lightwave 3d, a brief tutorial

This is a short blog post, which will describe how I go about edge renders in Lightwave 3d. It’s really easy and I find it a great technique for renders that are not photorealistic.

I am using Lightwave version 11.6, I’m not sure how this works in other versions. But it’s probably almost identical.

What do I mean by edge renders?

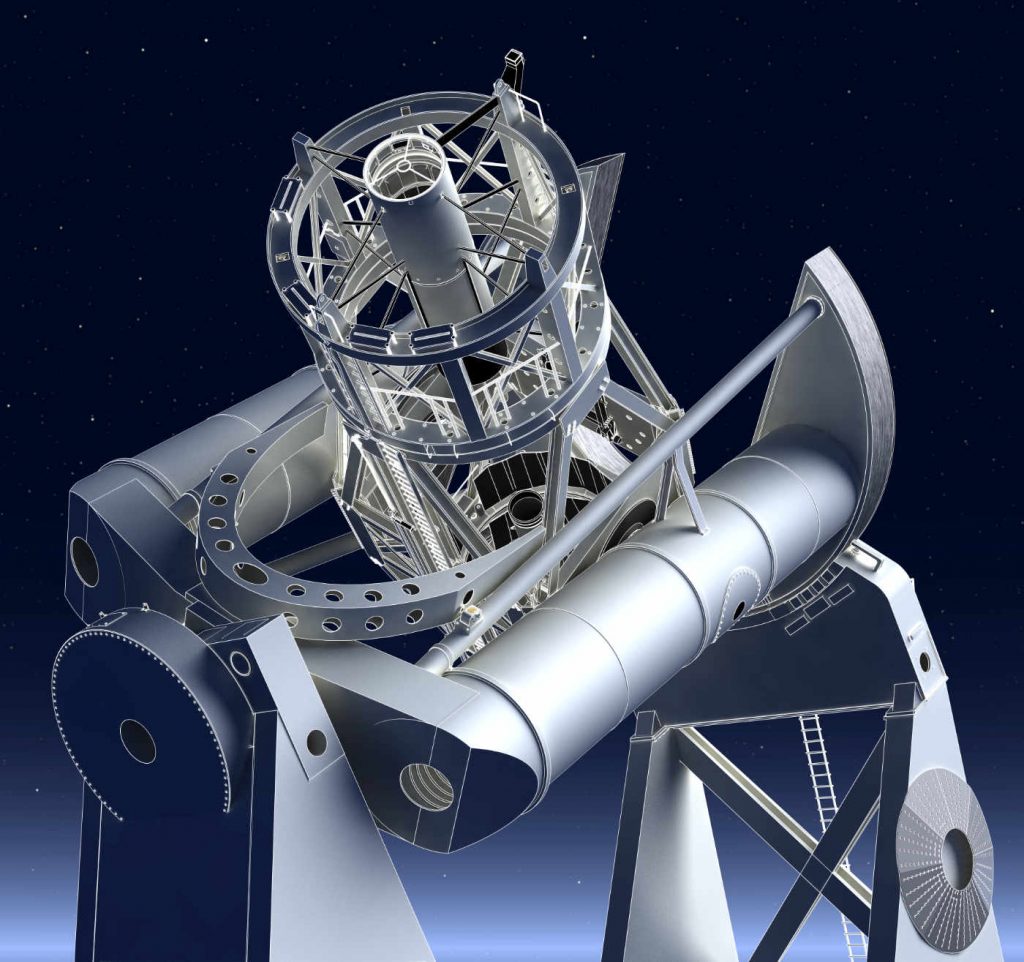
This is an effect that runs a line along various edges and boundaries. It can be used to emphasise fine detail, or to give a diagram effect. It works with transparency, and animates nicely.

Here’s an example.

Hale Telescope Edge Render

Note how features of the telescope are highlighted with fine white lines.

Ready to start? Continue reading “How to do edge renders in Lightwave 3d, a brief tutorial”

The Saturn 1B model, Follow along with the build.

I gather from Twitter that some people find it interesting to follow my approach and progress when building a new model. So here’s a blog post where I will show how a project comes together, with lots of illustrations.

My starting point is to gather references, particularly high resolution photos, and plans with dimensions. Fortunately this one is covered in the excellent “Rockets of the World” by Peter Alway. It’s not highly detailed, but I find if you can get the overall dimensions of major features correct, then it’s not too tricky to fill in the rest from good photographs.

Rockets of the World

Continue reading “The Saturn 1B model, Follow along with the build.”

Tutorial: Importing Blender 3d content into Lightwave or Vue

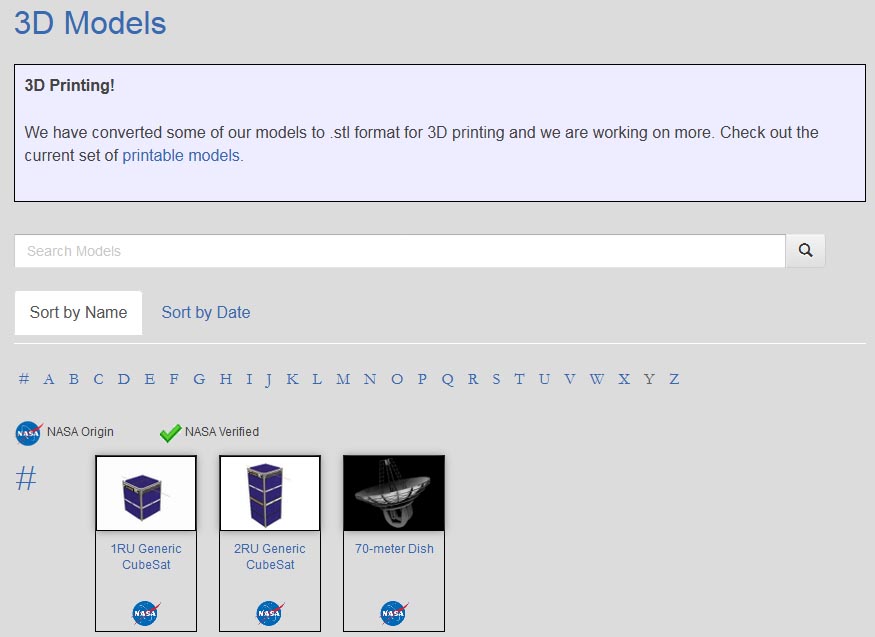
One of the frustrations of working with CGI is that you sometimes find a brilliant free model, but it’s not for your software. And a specific example that has frustrated me is that there are some great models available in Blender format on the NASA 3d object library site:

NASA 3d library
NASA 3d library

Now, whilst I have heard of Blender, I’ve never tried to use it, and 3d packages can be very difficult to learn. But I decided to give it a go. Maybe I’d be lucky! Continue reading “Tutorial: Importing Blender 3d content into Lightwave or Vue”

Making a dwarf planet – Tutorial

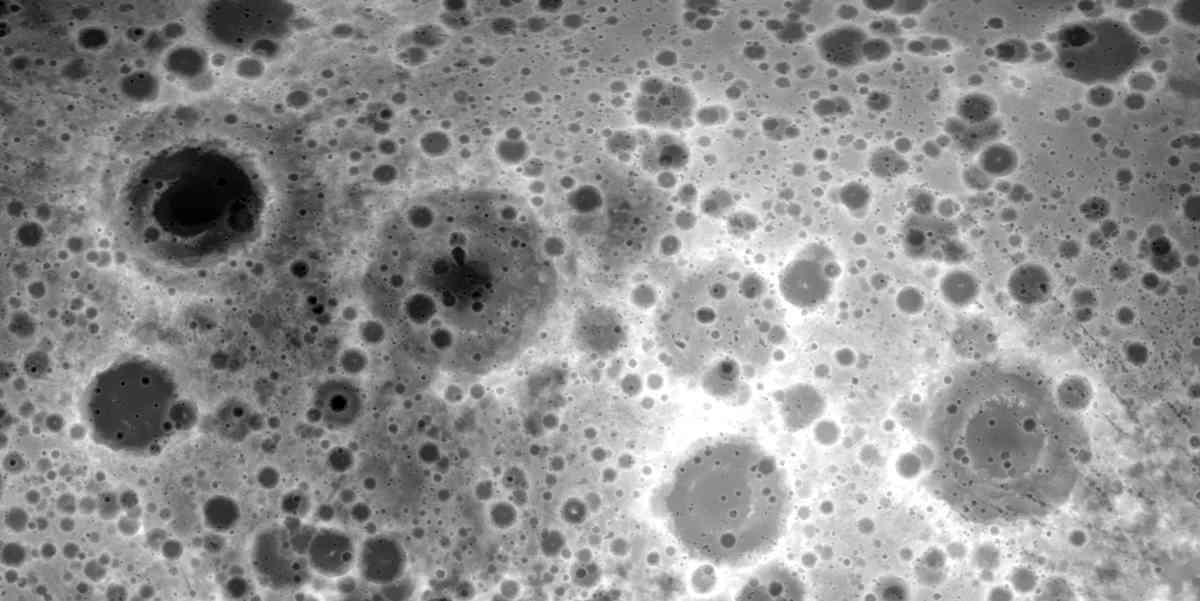
I wanted to make a dwarf planet, using elevation maps from the Moon, (and maybe Mars?) for realistic craters. I thought it may be helpful to save out the steps, so that others can follow along. Tutorial time!

You will need:

  • The 3D program of your choice, it should support displacement maps.
  • A high res source elevation map, these are available online.
  • An image editor that can edit 16 bit grey scale images.

Getting started

I started with a slice of elevation map from the rear of the moon, (less recognisable), in the proportions of 2:1

This will have seams at the left and right edges. To fix this we need to first use an offset filter, with wrap, to move the whole thing 50% to the right. Continue reading “Making a dwarf planet – Tutorial”